Making the most of Microsoft Word
Producing a thesis, dissertation or extended assignment is no small task. Microsoft Word contains some lesser-known features that are enormously helpful in preparing extended documents, which we'll explore here.
Styles for navigation
Styling text isn't just about complying with formatting requirements. It makes your document easier to read and to navigate. Start a new document to find out how.
- Open a new Word Document
- Generate some dummy text:
-
Type
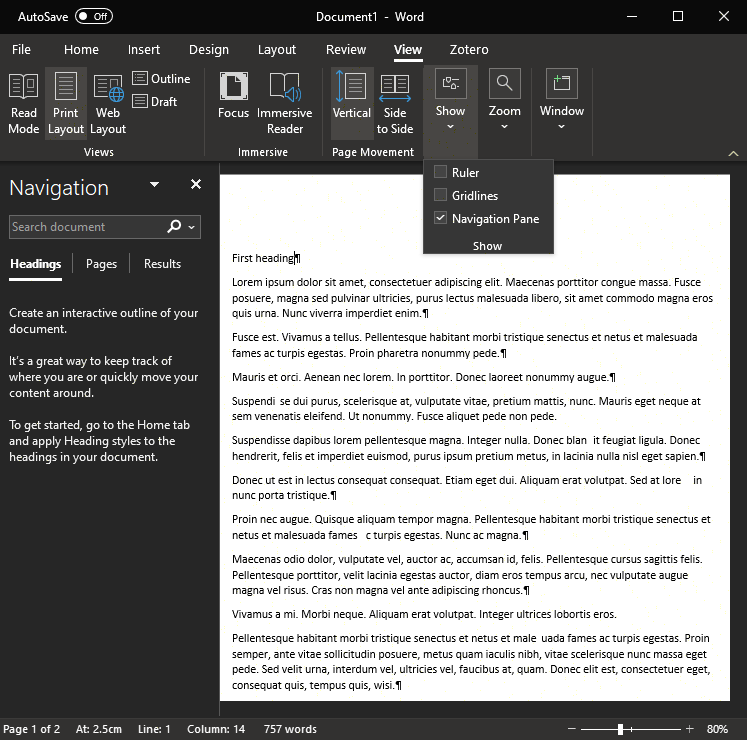
=rand(30,4)into the document and press . - Show the navigation pane.
-
Use the
Viewribbon menu toShow → Navigation pane -
Head up to the top of the document and type
First headingas the first line of the document. - Exact details of how to perform actions may vary between versions and operating systems. Use a search engine and your initiative if the suggested steps don’t work for you.
Now we've created our document, let's add some structure. We'll mark our first heading as a heading, then add some more sections later in the document. Then we'll be able to navigate using the Navigation Pane.
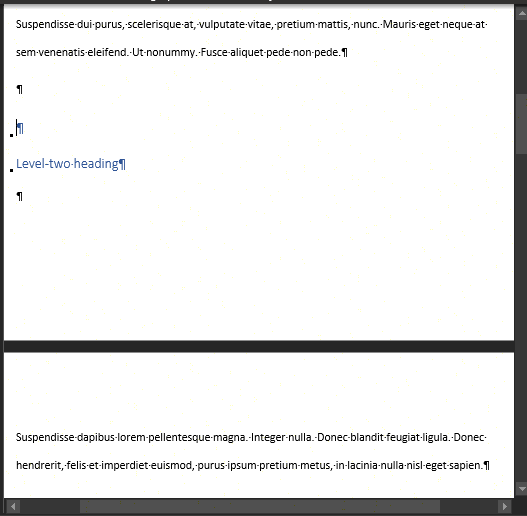
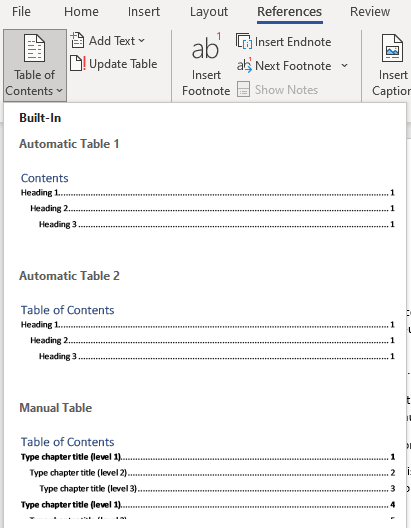
- Apply the "Heading 1" style to your first heading
-
Select the
Homeribbon menu and applyStyles → Heading 1. Or key Ctrl + Alt + 1. - Add more headings elsewhere in the document. Use the Heading 1 and Heading 2 styles.
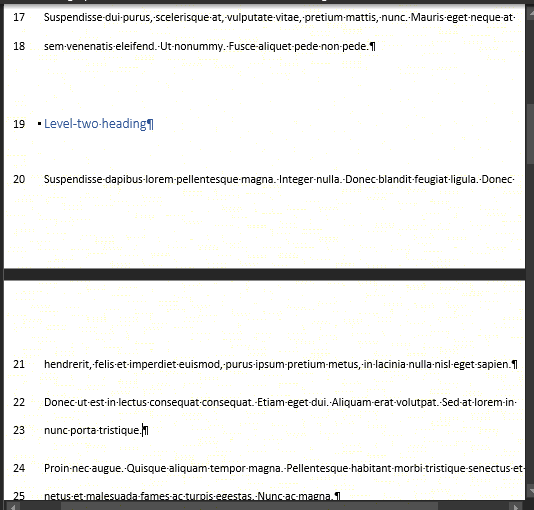
- Navigate between sections
- Click on a heading in the Navigation Pane to move to that part of the document.

Styles for formatting
Now that we have styles in place, we can use these to format the text. Editing all headings at once helps where a rejected manuscript must be re-formatted to a different publisher's style guide, or when a deadline-day check uncovers unexpected formatting guidelines…
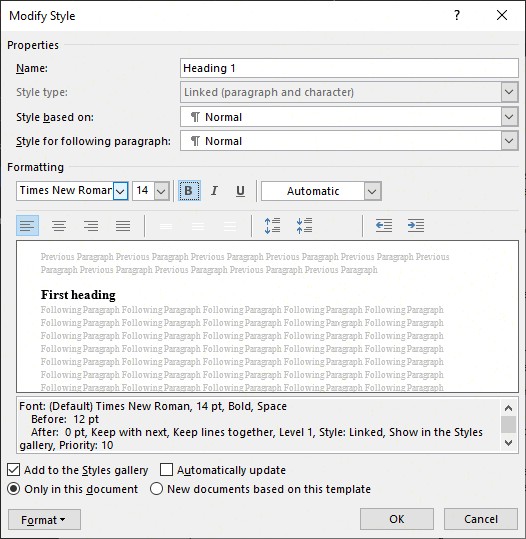
- Modify the "Heading 1" style to use 14-pt Times New Roman bold
-
In the
Homeribbon menu, selectStyles, right-click "Heading 1" and selectModify. - Change the properties in the "Formatting" section.
- Click "OK". All level-1 headings now exhibit the new format.
Notice that the "Heading 1" style inherits properties from the "Normal" style. Updating the "Normal" style will change its dependent styles.
- Modify the "Normal" style to use double line spacing
-
In the "Modify Style" dialog box, use the
Formatdrop-down button and selectParagraph…. - Under "Spacing → Line spacing", select "Double".
- Headings are now double-spaced too: they've inherited all properties of the "Normal" style that are not explicitly overwritten in their own definition.